
If you’re using a Chromebook, you’ve maybe noticed that over time, your device can begin to slow down or experience presentation matters. This is often due to the buildup of cached data from numerous apps you use.
Cached data can comprise files, images, and other multimedia that are stored on your device to help apps load faster. But over time, this data can clutter your system and cause problems. Clearance of the app cache can help to resolve these issues and keep your Chromebook running efficiently.
This guide will walk you through the modest steps about How to Clear App Cache on Chromebook?
Understanding How to Clear App Cache on Chromebook
The app cache serves an essential purpose in enhancing your online experience. It is essentially a data storage space where web apps can store bits of information that they need to function efficiently. This could be anything from web pages to images or even parts of entire websites.
The primary function of the cache is to speed up loading times by storing static files nearby, which reduces the need for your Chromebook to fetch these files from the internet every time you open an app. While this is usually helpful, with lengthy use, the cache can become messy with outdated or needless data, leading to decreased presentation and storage space on your device.
Definition and function of app cache

The app cache is a designated storage area where web applications can store data that they need to operate effectively. It typically contains rudiments such as web pages, images, or even complete sections of websites. These elements are stored nearby on your device, such as a Chromebook, which removes the need to re-download these files whenever you access a request.
This function significantly accelerates loading times and enhances your overall online experience. But, over time, the app cache can pile up with outdated or needless data, causing a dip in both presentation and available storage space on your device.
Clear Cache and Storage for Android Apps from Settings
Clearing cache and storage can fix app issues and improve performance. To start, open the Settings blackboard on your Android device. Cross to Apps and find the app you poverty to manage. Tap on the app and choice Storage & Cache from the options. You will see buttons for Clear Cache and Clear Storage. Tap these buttons to clear the respective data. This process helps keep your apps running smoothly and frees up space on your device.
Why clearing the cache can resolve specific issues
Clearance of the cache can help as a quick fix for many issues your Chromebook might be experiencing. Over time, cached data may become outdated or corrupted, which can lead to problems such as apps not working correctly or loading gradually, websites not showing properly, or even your device running out of storage.
By clearing the cache, you are successfully removing these complex data, allowing your apps and websites to fetch fresh, updated data. This corrects any present issues and optimizes your device’s presentation by freeing up valuable storage space.
Also Read: How To Access Instagram On School Chromebook?
How To Clear Cache On Google Play Store On Chromebook
Clearing the Google Play Store cache can explain many app-connected issues on your Chromebook. First, open your Chromebook and go to the sceneries menu. Find the Apps segment and click on Google Play Store. Next, click on Achieve Android Preferences and a new menu will open. Steer to Storage and select Clear Cache to complete the process. This step will help improve the performance of apps installed through Google Play Store.
How do I delete app data on my Chromebook?
To delete app data, go to your Chromebook’s settings menu. Click on “Apps” to find your applications. Select the app whose data you wish to delete. Click on the “Storage” option within the app settings. You will see a button labeled “Clear Data”. Press it, and your app data will be deleted. This helps free up space and keeps your Chromebook running smoothly. Always double-check before deleting any important data.
Steps to Clear App Cache on Chromebook
Clearance of the app cache on your Chromebook is a frank process. Here are the simple steps:
- First, expose the Chrome browser on your Chromebook.
- In the top correct viewpoint, click on the three points to open the menu.
- From the dropdown, select ‘More tools,’ then ‘Clear looking data.’
- A window will pop up with many options. Make sure to check the box next to ‘Cached images and folders.’
- You can select the time choice for which you need to clear the cache. If you want to clear all the cache, select ‘All time.’
- Finally, click on ‘Clear data.’
This development will remove all the cached data from your Chromebook, possibly solving any presentation issues you’ve been feeling and releasing up some storage space. Remember, though, that permission your cache will cause websites to load more slowly the first time you revisit them, as they will have to transfer all of the crucial data again.
Step 1: Turn on your Chromebook and sign in
Before you can begin permission the app cache, you need to turn on your Chromebook and sign in. To do this, press the control key located on the side or top of your Chromebook. Once your device has powered up, enter your Google Account papers on the sign-in screen.
Confirm you’re connected to a stable internet connection for a unified sign-in process. If you have numerous Google Accounts, be sure to log in to the account you mostly use on your Chromebook. This step is vital as it grants you access to the device’s settings, where you can prosper and clear the app cache.
Step 2: Opening the settings menu
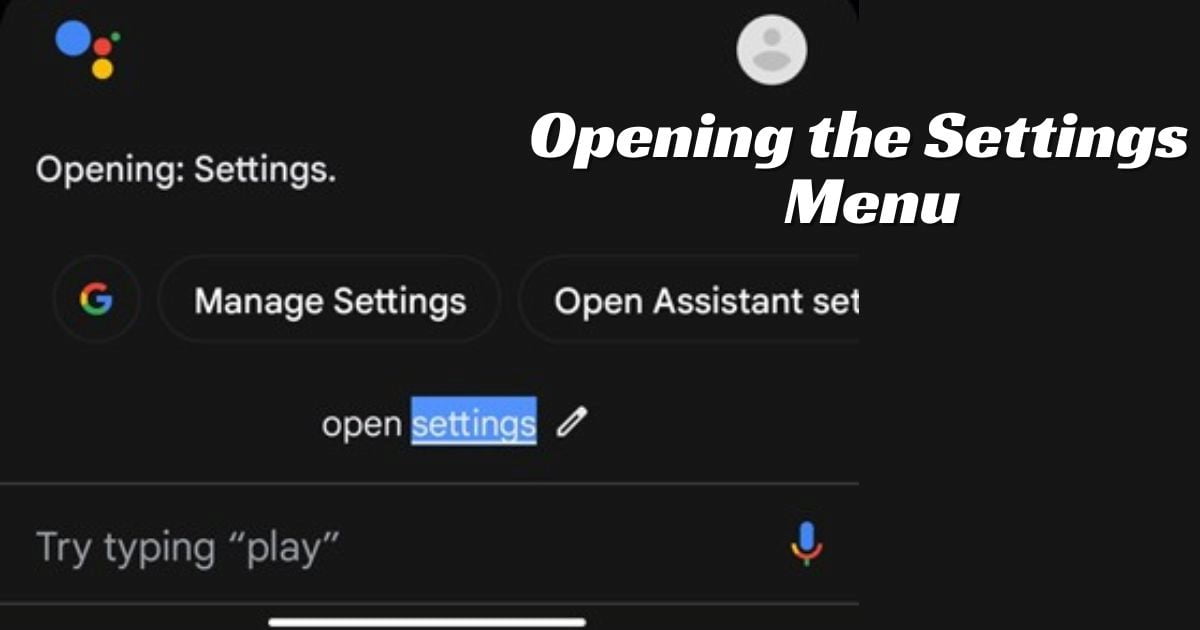
Once you’ve positively logged into your primary Google Account, navigate to the device’s settings menu. This can be opened by clicking on the status part located at the bottom-right angle of your screen; this area shows the time, battery status, and account picture.
Upon clicking, a menu will open up. Look for the gear icon, which signifies the ‘Settings’ option, and click on it. By clicking the settings menu, you gain access to a range of customization and management options for your Chromebook, counting the tools needed to clear the app cache.
Step 3: Navigating to the apps section
In the settings menu, you need to find the ‘Apps’ section. This can naturally be found in the left-hand sidebar. Click on it to reveal a dropdown menu with different app-related options. Within this menu, look for ‘Google Play Store’ or ‘Web Store’ depending on which type of apps you need to manage.
Clicking on this will lead you to a section showing all the apps connected to your Chromebook. This is the part where you can manage each app’s data, including the cache.
Step 4: Selecting the app and access its information
From the list of installed apps shown, select the exact app you wish to manage. By clicking on the app, you will be fixated on a detailed page related to the app’s data and settings. This page delivers a complete impression of the app, including info about its storage usage, agreements, and more.
Here, it would help if you found the ‘Storage’ piece, which particulars the quantity of space the app is now inhabiting on your device. This section also includes a breakdown of the app’s data and cache, giving you an in-depth look at how the app collaborates with your device’s storage.
Step 5: Clearing the app cache and confirming the action
Within the ‘Storage’ section of the selected app’s information page, you’ll find an option labeled ‘Clear Cache.‘ Click on this to begin the cache-clearing process. A pop-up validation window will appear, requesting you to confirm your action.
This is a necessary step, as clearing an app’s cache will remove all impermanent files associated with the app, which could result in slower filling times or the need to re-input specific info into the app. Be sure you want to proceed, then click ‘Confirm’ or ‘OK’ to finalize the process.
The system will then clear the particular app’s cache, potentially refining the presentation of the app and releasing up storage space on your Chromebook. Once the process is complete, the quantity of cache shown should be reduced to zero.
FAQs
How do I clear my app’s cache?
Identify the App: Locate the exact app whose cache you want to clear on your device. This is naturally done by finishing the device’s settings menu under the ‘Apps’ or ‘Applications’ section.
Access App Information: Open the app’s info page by choosing it from the list of fixed apps. This page will provide many details about the app, including storage usage and permissions.
Find the Storage Section: Within the app’s info page, look for the ‘Storage’ section. This area details the quantity of space the app is now using on your device, including a breakdown of the app’s data and cache.
Select Clear Cache: Inside the ‘Storage’ section, you will find an option branded ‘Clear Cache.’Select this to initiate the cache-clearing process.
Confirm Action: A validation window will appear, asking you to approve your action. Click ‘Confirm’ or ‘OK’ to confirm the process. The app’s cache will then be cleared, potentially improving the app’s presentation and releasing storing space on your device.
Conclusion
In today’s digital world, professionally managing your device’s storage is vital for keeping optimal presentation. Clearing your app cache frequently on your Chromebook is a simple yet accurate way to achieve this. It frees up storing space and possibly improves the presentation of your apps.
However, remember that this process removes all impermanent files related to the app, which may affect loading times or require re-inputting some information. With this leader, you should now be able to navigate your Chromebook’s settings, locate specific apps, and achieve their storage usage with ease.